1
2
3
4
5
6
7
8
9
10
11
12
13
14
15
16
17
18
19
20
21
22
23
24
25
26
27
28
29
30
31
32
33
34
35
36
37
38
39
40
41
42
43
44
45
46
47
48
49
50
51
52
53
54
55
56
57
58
59
60
61
62
63
64
65
66
67
68
69
70
71
72
73
74
75
76
77
78
79
80
81
82
83
84
85
86
87
88
89
90
91
92
93
94
95
96
97
98
99
100
101
102
103
104
105
106
107
| <!DOCTYPE html>
<html>
<head>
<title>多个移动的小球</title>
<meta http-equiv="content-type" content="text/html; charset=utf-8">
<script type="text/javascript" src="/examples/script/lib/jquery-1.11.2.min.js"></script>
<link type="text/css" rel="stylesheet" href="/examples/script/bootstrap-3.3.5/css/bootstrap.min.css">
<script type="module">
import { Graph, VectorSource, Layer, Text, Circle, debug, Animation, Easing, MathUtil, Color, Gradient } from "/examples/src/index.js";
let graph = new Graph({
"target": "graphWrapper"
});
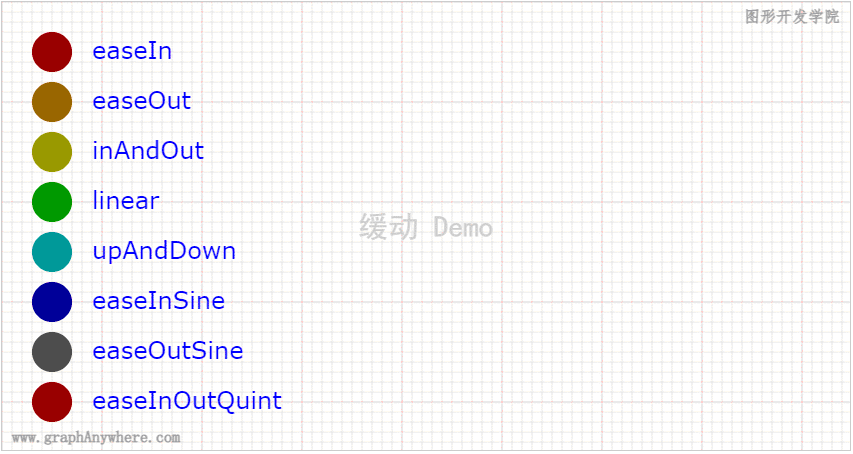
let defs = [
{ "x": 50, "y": 50, "radius": 20, "easing": Easing.easeIn },
{ "x": 50, "y": 100, "radius": 20, "easing": Easing.easeOut },
{ "x": 50, "y": 150, "radius": 20, "easing": Easing.inAndOut },
{ "x": 50, "y": 200, "radius": 20, "easing": Easing.linear },
{ "x": 50, "y": 250, "radius": 20, "easing": Easing.upAndDown },
{ "x": 50, "y": 300, "radius": 20, "easing": Easing.easeInSine },
{ "x": 50, "y": 350, "radius": 20, "easing": Easing.easeOutSine },
{ "x": 50, "y": 400, "radius": 20, "easing": Easing.easeInOutQuint }
];
let debugLayer = debug.generateGrid(Object.assign({ "interval": 10, "graph": graph }, graph.getSize()));
debugLayer.getSource().add(new Text({
"text": "缓动 Demo",
"x": graph.getSize().width / 2,
"y": graph.getSize().height / 2,
"vectorSize": false,
"style": { "lineWidth": 4, "fillStyle": 0, "fillColor": "#D0D0D0", "fontSize": 30, "fontName": "黑体", "textAlign": "center", "textBaseline": "middle" }
}));
let layer = graph.addLayer({ "name": "数据层" });
let balls = [];
let colorSet = ["#FF0000", "#FFAA00", "#FFFF00", "#00FF00", "#00FFFF", "#0000FF", "#000000"];
for (let i = 0; i < defs.length; i++) {
let colorBand = Color.band(colorSet[i % colorSet.length], 10);
balls.push({
"easing": defs[i].easing,
"circle": layer.getSource().add(
new Circle({
"x": defs[i].x,
"y": defs[i].y,
"radius": defs[i].radius,
"style": { "color": "none", "fillStyle": 1, "fillColor": colorBand[7] }
}))
});
layer.getSource().add(
new Text({
"text": defs[i].easing.name,
"x": defs[i].x + defs[i].radius * 2,
"y": defs[i].y,
"style": { "fontSize": 24, "fillColor": "blue", "fontName": "Verdana", "textBaseline": "middle" }
}))
}
let running = false;
let times = 0;
let totalTimes = 10;
let minX = 50, maxX = 800;
let rafId = -1;
function frame() {
for (let i = 0, len = balls.length; i < len; i++) {
let dx = minX + (maxX - minX) * balls[i].easing(times / totalTimes);
balls[i].circle.moveTo(dx, defs[i].y);
}
graph.render();
if(times < totalTimes) {
times++;
} else {
times = 0;
Animation.stop(rafId);
}
}
$("#btnStart").on("click", function () {
times = 0;
rafId = Animation.start(frame, 0, 5);
});
$("#btnStop").on("click", function () {
Animation.stop(rafId);
})
</script>
</head>
<body style="overflow: hidden; margin:10px;">
<div id="graphWrapper" style="width:850px; height:450px; border:solid 1px #CCC;"></div>
<div style="margin:20px">
<button class="btn btn-success" id="btnStart">开始</button>
<button class="btn btn-success" id="btnStop">停止</button>
</div>
</body>
</html>
|